How to block “PO Box” being entered into Customer Ship To Address
Problem:
Many business would not allow product shipped to a “PO Box” address. So would like to block any “PO Box” address being entered into any ship to address.
Solution:
1) Enter design mode of “Customer Ship Tos” Form.
2) We are going to first create a script. Go to “Menu -> Edit -> Script”, a Script window should open. Click “New”, enter Script Name called “NoPOBox”, then click OK.
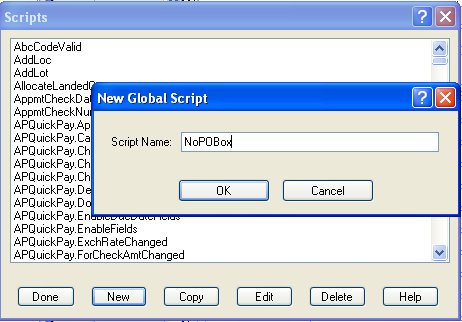
Put in the following script:
Option Explicit On
Option Strict On
Imports System
Imports Microsoft.VisualBasic
Imports Mongoose.IDO.Protocol
Imports Mongoose.Scripting
Namespace SyteLine.GlobalScripts
Public class NoPOBox
Inherits GlobalScript
Sub Main()
Dim strValue As String
Dim logicYN as boolean
Dim logicYN1 as boolean
Dim logicYN2 as boolean
Dim logicYN3 as boolean
Dim logicYN4 as boolean
strValue = GetParameter(0).ToUpper()
logicYN = strValue like “*PO BOX*”
logicYN1 = strValue like “*P.O BOX*”
logicYN2 = strValue like “*P.O.BOX*”
logicYN3 = strValue like “*PO. BOX*”
logicYN4 = strValue like “*P.O. BOX*”
If logicYN or logicYN1 or logicYN2 or logicYN3 or logicYN4
ReturnValue = “1”
else
ReturnValue = “0”
end if
End Sub
End Class
End Namespace
Then “OK” to save the Script, and “Done” to close the Script window.
3) Create a Validator.
While we are still in the design mode of “Ship Tos” Form, from menu, go to “Edit -> Validator”. A “Validator” window open, click “New”. In the “Validator Properties” window, enter “NoPOBox” as name, “Run Script” as type. Select “NoPOBox” as script name from the pull-down list, that is the script we just created in step 2).
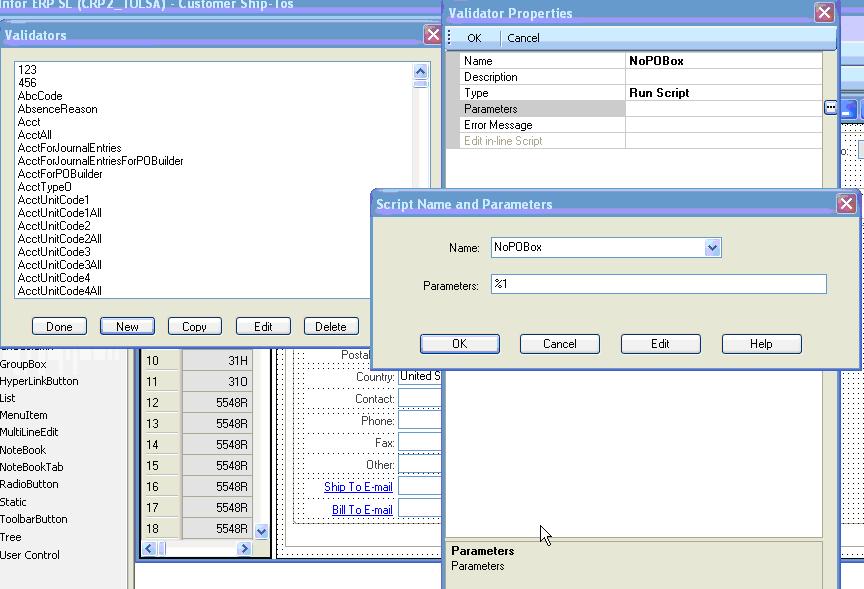
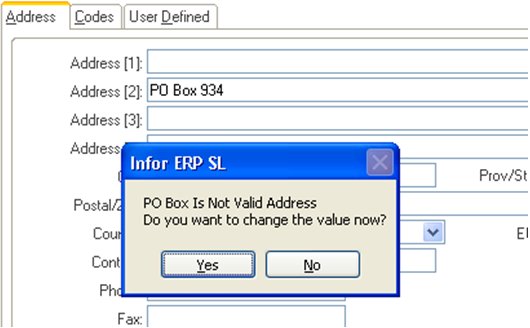
Then, create Error Message: “PO Box Is Not Valid Address”.
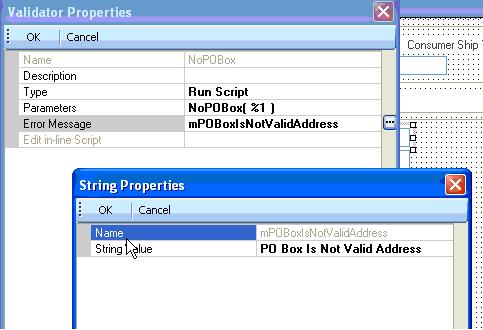
Click OK all the way back, we now have created a validator called “NoPOBox”, and we can apply it to the fields that we want to validate.
4) Apply validator
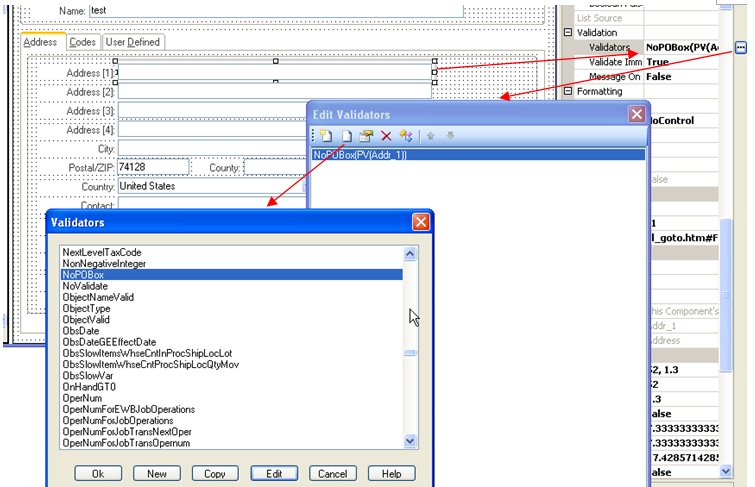
Click to enter PV(Addr_1), that means property value of Addr_1, as parameters.
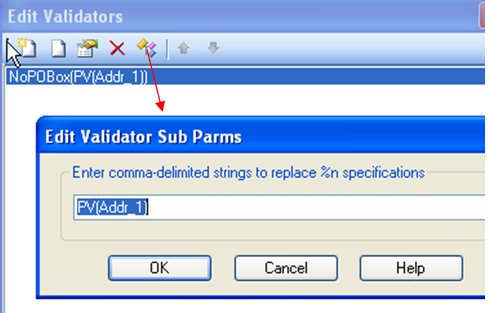
5) Now save the change and exit out of design mode, we should be able to see the validation is working:
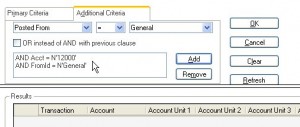 Select “Posted from”, let it “=” to General. That means we will only select transactions that is posted from “General Journal”, instead of normal inventory transactions that are posted from “IC Journal”. Then click the “Add” button.
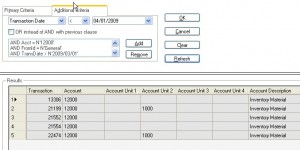 Right click on left-upper corner of the grid, from the menu, select “To Excel”, you will then be able to export the data to Excel.
Recent Comments